Blog
Batch Compress Images from the Terminal: karui CLI vs sips and ImageMagick
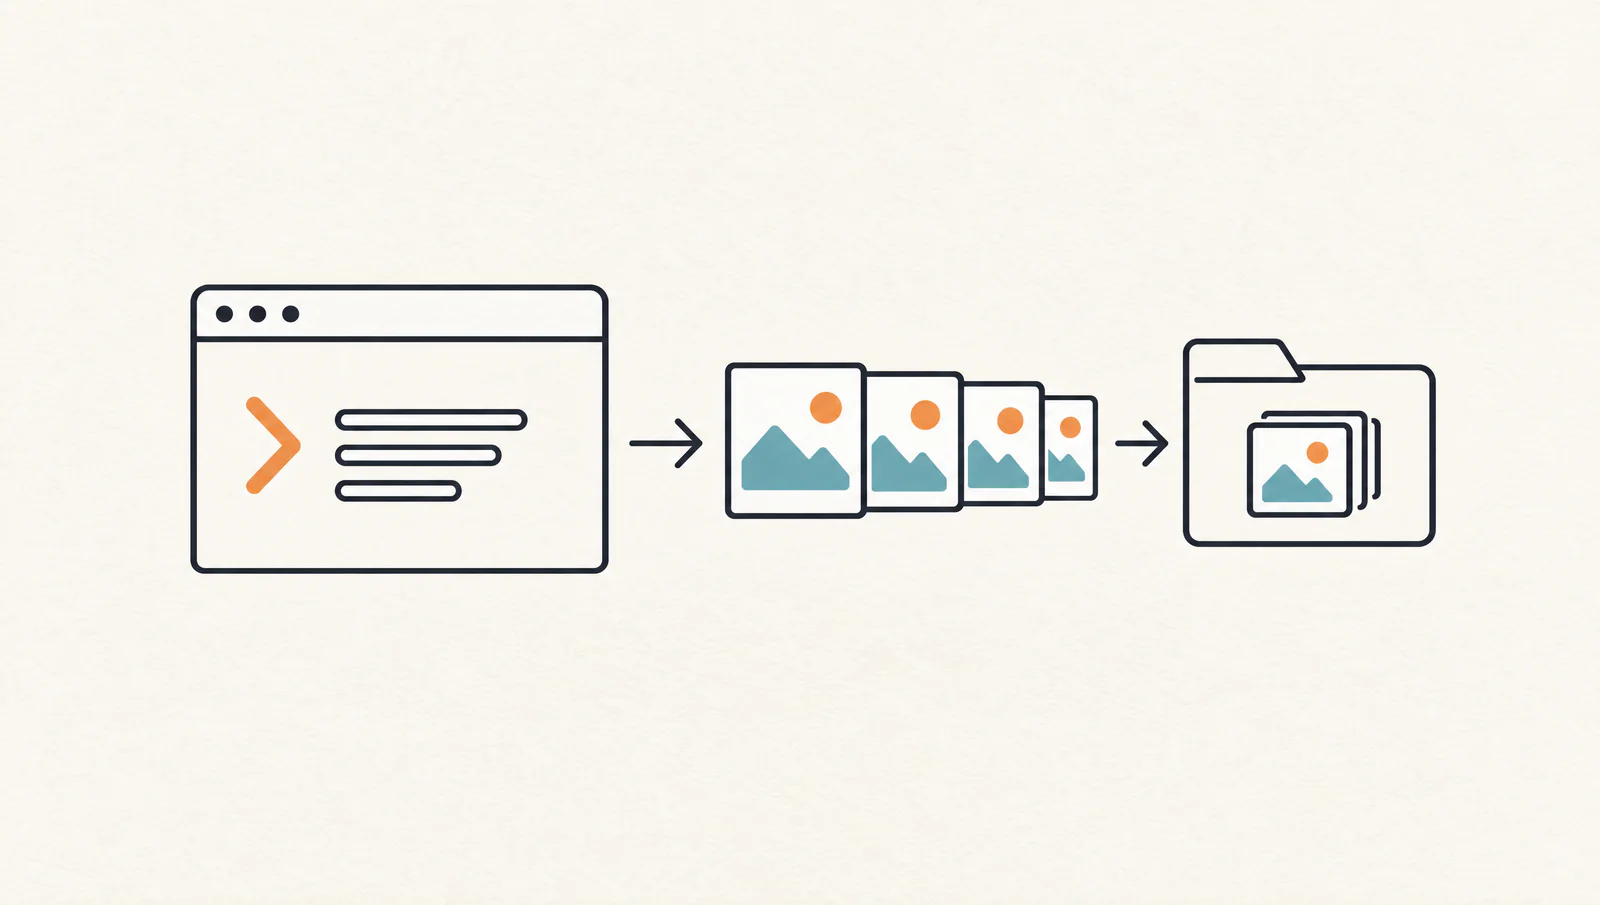
Even with 100 photos, it takes one line in the terminal. This post replaces dragging files into a GUI one at a time with commands and scripts. It looks at where sips and ImageMagick fit, then covers how to use the karui CLI and three scripts you can use as is.
 Daichi
October 7, 2026
~7 min read
For developers and anyone automating this work
Why a CLI instead of a GUI
A GUI is fast for one image. Drag it in, pick a preset, wait. At 100 images, it is a different story. Repeat the same steps 100 times and your judgment will drift somewhere along the way.
The CLI pays off in four situations: high volume, scheduled runs, CI, and remote machines.
- High volume: Pass files all at once with a glob. Even 100 images take one line
- Scheduled: Call it from cron or launchd. The process exits when the work is done
- CI: Shrink images on every build. The settings can live in the repository
- Remote: It runs over SSH on a machine with no GUI
What these share is that no one has to make a decision each time. Fix the settings in a command and you can reproduce the same quality. Moving a slider each time, on the other hand, is not reproducible.
What sips can and cannot do
sips is the image processing command built into macOS. No extra install is needed. For long-edge resizing and format conversion, it is enough.
mkdir -p out
for f in *.jpg; do
  sips -Z 1600 "$f" --out "out/$f"
done
-Z fits the long edge to the given number of pixels. The aspect ratio is preserved. With -s format jpeg you can also convert formats.
Its limit is quality control. sips is a tool for resizing and converting, and it is not designed for managing compression quality as presets or sharing them across a team. I would not count on it for fine quality adjustment. The quick way to decide is to look at the output first and see whether sips is enough.
Batches mean writing your own shell loop. Spaces in filenames, uppercase extensions, continuing after a failure partway through: the list of things to look after grows. It cannot compress PDFs.
ImageMagick: strengths and overhead
ImageMagick is the standard tool for image processing. With mogrify, you can apply resizing, a quality setting, and metadata removal to multiple files at once.
mkdir -p out
mogrify -path out -resize '1600x1600>' -quality 75 -strip *.jpg
1600x1600> means "shrink only if larger than the given size." -strip removes metadata such as EXIF. This flexibility is ImageMagick's strength.
The overhead comes in three forms. First, setup: it needs a separate install and has many dependencies. Second, version differences: command names changed between ImageMagick 6 and 7, so convert and magick coexist. Third, configuration: PDF and HEIC handling depends on delegates, and some formats are blocked in policy.xml.
With so many features, it has too many settings for someone who only wants to compress images. It also has no way to distribute presets and no license management. It is like a powerful kitchen knife you have to sharpen before each use.
Using the Karui CLI
The Karui CLI uses the same compression engine as the GUI. Installation is one line.
curl -fsSL https://karui.app/install.sh | sh
On macOS and Linux it goes into ~/.local/bin. If that is not on your PATH, add it in your shell config. The basic form is as follows.
karui compress *.jpg -e 1600 -q 75 -o out/karui compress *.jpg -e 1600 -q 75 -o out/
photo-01.jpg -> out/photo-01.jpg (3.46 MB -> 249.4 KB, 93.0% smaller, 1600x1067)
photo-02.jpg -> out/photo-02.jpg (1.95 MB -> 162.0 KB, 91.9% smaller, 1600x1067)
photo-03.jpg -> out/photo-03.jpg (3.35 MB -> 274.5 KB, 92.0% smaller, 1600x1067)
photo-04.jpg -> out/photo-04.jpg (3.30 MB -> 257.8 KB, 92.4% smaller, 1600x1067)
photo-05.jpg -> out/photo-05.jpg (4.60 MB -> 413.3 KB, 91.2% smaller, 1067x1600)
photo-06.jpg -> out/photo-06.jpg (1.46 MB -> 75.3 KB, 95.0% smaller, 1600x1067)
done: 6 compressed, 0 failed
-e sets the long edge, -q the quality, and -o the output location. If writing all three every time is a hassle, use a preset.
hi: 1920px / quality 75. When you want to keep high resolutionweb: 1600px / quality 75. The standard for web uselight: 1280px / quality 70. For social media and thumbnails
karui compress photo.jpg --preset web gives you 1600px at quality 75. PNGs stay PNG and are compressed losslessly. To switch to WebP, add -f webp -q 82.
The flags are -o/--output, -f/--format, -q/--quality, -e/--max-edge, --prefix, and --overwrite. By default, output goes next to the input file. Files with the same name are not overwritten; they get a number instead, as in photo_2.jpg. Specify --overwrite only when you want to overwrite.
The same binary handles PDFs too. info shows width, height, format, and size, and status shows your license and remaining quota.
karui pdf report.pdf -q 75
karui info photo.heic
karui status
karui info photo-01.jpg photo-05.jpg
photo-01.jpg 3504x2336 jpeg 3.46 MB
photo-05.jpg 2336x3504 jpeg 4.60 MBThe CLI does not stay running in the background. It starts when called, does the work, and exits. It shares the same license file and quota as the GUI, so if Pro is active in the GUI, no extra setup is needed.
You can try this CLI free for 20 files a day (no card required)
Try Karui FreeThree practical scripts
1. Compress everything in the current directory
mkdir -p out
karui compress *.jpg *.png --preset web -o out/
Do not run everything right away. Test on 10 images first, check your remaining quota with karui status, then do the real run. Creating the output folder first is the reliable way.
2. Parallel processing with find + xargs
find ~/Pictures/2026 -type f \( -iname '*.jpg' -o -iname '*.png' -o -iname '*.heic' \) -print0 \
  | xargs -0 -P 4 -I{} karui compress {} --preset web -o ~/Pictures/web/
The combination of -print0 and -0 handles filenames containing spaces. -P 4 runs 4 processes at once. Compression uses CPU, but disk I/O matters too, so start with 2 to 4.
If different directories contain files with the same name, the output names get numbered. To keep names consistent, use a separate output folder for each directory.
3. Separate output folders by use
mkdir -p out/web out/light
karui compress shoot-*.jpg --preset web -o out/web/
karui compress shoot-*.png -f webp -q 82 -o out/web/ --prefix "hero-"
karui compress archive/*.jpg --preset light -o out/light/
--prefix adds a string to the start of the output name. If you vary quality for blog and social media use and keep them in separate folders, you will not get confused when swapping images later.
Comparison of the three tools and limitations
| Item | karui CLI | sips | ImageMagick |
|---|---|---|---|
| Setup | One line with install.sh | Built into macOS | Separate install |
| Resize | -e / presets | -Z | -resize |
| Quality setting | -q 1-100 | Via formatOptions | -quality |
| Batch processing | glob / xargs | Shell loop | mogrify |
| PDF compression | karui pdf | No | Not its main purpose |
| HEIC input | Yes on macOS | Yes on macOS | Depends on delegates |
| Output | -o / --prefix | --out | -path |
| Best for | High volume, scheduled runs, PDFs too | Occasional conversions | Detailed image editing |
Now the limitations. The Linux/Windows builds have HEIC/HEIF/AVIF decoding disabled. There is no flag for specifying a target size. All you can do is vary -e and -q and check with karui info. The free tier is 20 files a day, shared across the GUI, CLI, and MCP. install.sh is for macOS/Linux; on Windows, extract the release zip and put it on your PATH.
Start that batch job from your terminal
No credit card, free for 20 files a day. If you like it, $29 once (perpetual license + 1 year of updates).
Windows 10+ / macOS 12.0+ / 100% local processingFAQ
Is the karui CLI free to use?
It is free for up to 20 files a day. The GUI, CLI, and MCP share the same allowance, and you can also try Pro features for 7 days from installation. For ongoing high-volume work, the $29 one-time license makes it unlimited.
Is sips alone ever enough?
For long-edge resizing and format conversion, sips is enough. It is built into macOS, so no extra install is needed. If you want fixed presets, want to shrink PDFs with the same tool, or want to manage quality as a number, the CLI is a better fit.
Can I compress to a target size?
There is no flag that automatically aims for a target size. You narrow it down by varying the long edge with -e and the quality with -q, and checking the size with karui info. Start by trying the web preset.
Do the same commands work on Windows?
Windows builds of karui and karui-mcp are distributed, but install.sh is for macOS/Linux. On Windows, extract the release zip and put it on your PATH. The Windows/Linux versions have HEIC/HEIF/AVIF decoding disabled.
What happens if filenames collide in the output folder?
By default nothing is overwritten, and a number is added, as in photo_2.jpg. Specify --overwrite only when you intend to overwrite. With --prefix you can add a string to the start of the output name.