How-to Guide
How to Batch-Convert HEIC Photos to JPEG on Mac (Free, No Visible Quality Loss)
Macs open HEIC out of the box. So the problem isn't that you can't convert it. The problem is that there is no built-in path for converting in bulk and making the files smaller at the same time. This guide shows how to stop exporting one file at a time from Preview and turn 50 photos into JPEG in one go.
 Daichi
September 17, 2026
~6 min read
For people who use both a Mac and an iPhone
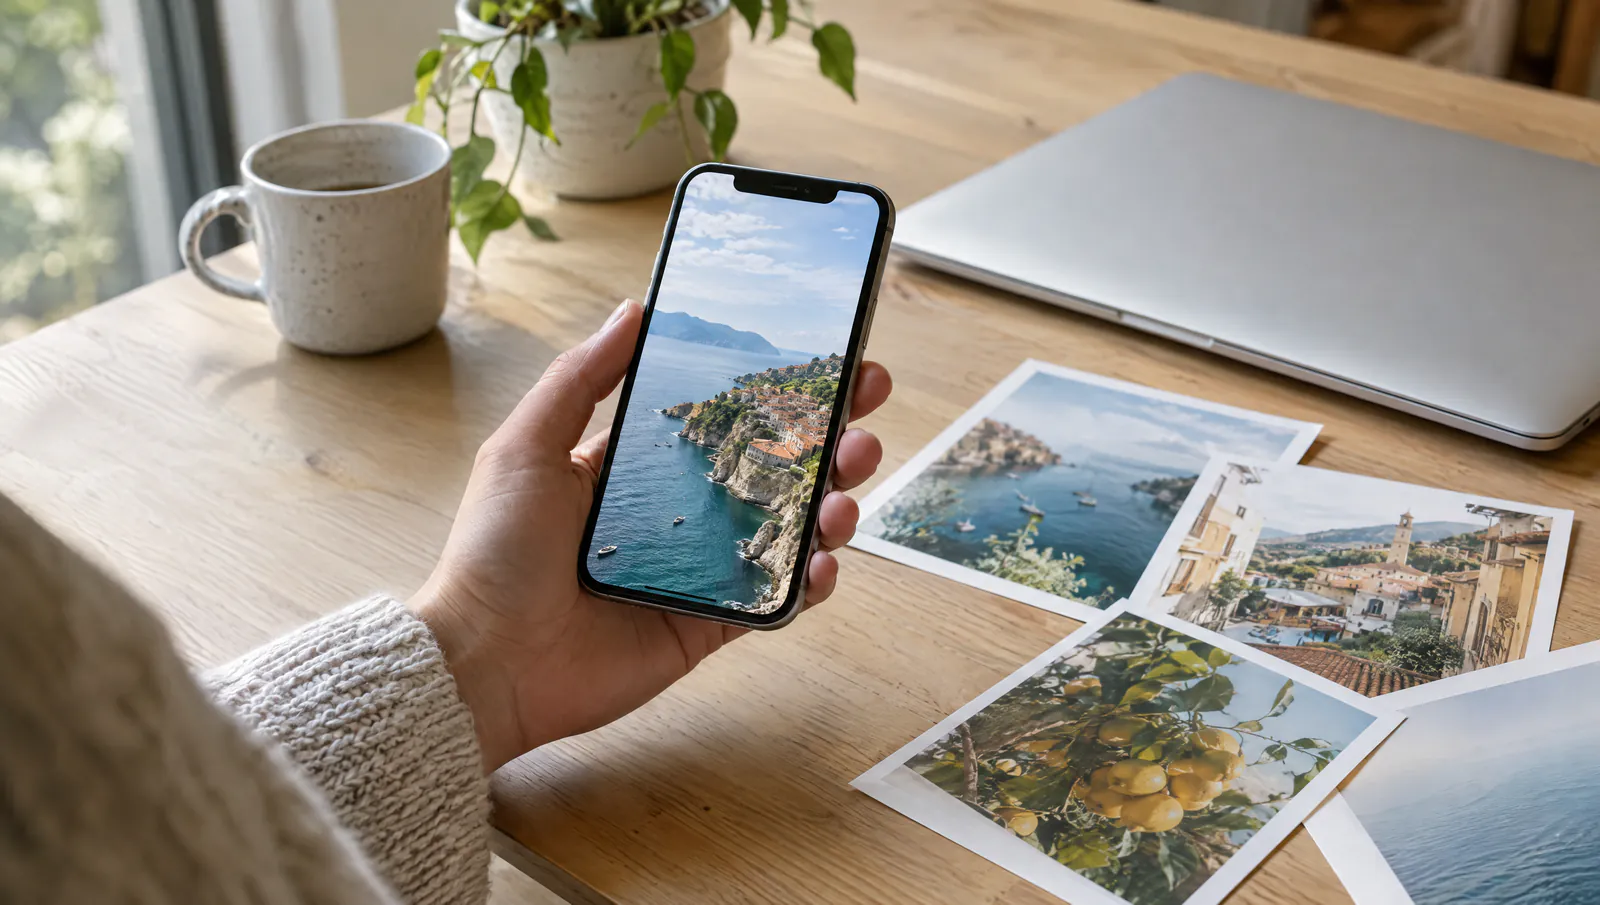
HEIC on Mac: viewing and sharing
macOS opens HEIC files as they are: Preview, the Photos app, Quick Look in Finder. Unlike on Windows, there is no extension to buy, and for viewing alone there is no problem. So far, so good.
The trouble starts when you share. Web application forms, CMSs that are no longer updated, clients who only use Windows, print shops. Many of them specify JPEG as the accepted format. Send a HEIC file as is and it comes back with "can't open this."
So you turn to batch conversion, but the built-in macOS paths treat batch conversion and shrinking as separate jobs. Preview and the Photos app can both export, but the Photos app keeps the original resolution, and compression is a separate step afterward.
Another common misunderstanding: converting is not the same as shrinking. HEIC is already a compressed format, so converting to JPEG tends to make files bigger. That is how you end up with a converted file you still can't attach to an email.
Three options for converting HEIC to JPEG
There are three options. Choose based on how many photos you have and what you want to do after converting.
| Method | Batch conversion | Compress / resize | Best for |
|---|---|---|---|
| Export from the Photos app | Yes, with multiple selection | Separate step after export | Up to a few dozen photos, built-in tools only |
| Shortcuts / Automator | Yes, depending on your recipe | Yes, if you build it yourself | People who want to build their own routine |
| Karui | Drop them all in | Done during conversion | Dozens of photos in a short time |
Option 1: Export from the Photos app
In the Photos app, select your photos and choose File > Export > Export Photos. Choose JPEG as the format and you can also choose a quality level. For a few dozen photos, this is enough. But the output stays at the original resolution, and it's not unusual for each file to remain several MB. To make them smaller, you need to run the exported files through another tool.
Option 2: Batch processing with the Shortcuts app or Automator
In the Shortcuts app, the Convert Image action turns HEIC into JPEG. Automator's Change Type of Images action does the same thing. You can run multiple files through at once, which suits people who repeat the same process every time. But you have to build the recipe yourself, including resizing, quality, and output location, and behavior changes between macOS versions. This guide stops at the action names. On your first run, always check the results on copies of a few files.
Option 3: Convert and compress at once with Karui
Karui is a macOS / Windows app that takes HEIC / HEIF as input and can export JPEG. Batch processing and resizing are set on the same screen, and processing is 100% local. Files don't go up to the cloud, so private photos are fine to use as they are. It supports macOS 12.0+ and is free for 20 files a day.
Batch-converting HEIC to JPEG in Karui
Step 1. Download the Mac version
Install the macOS version from karui.app/#download. No credit card is required. Pro features are fully available for 7 days after installing.
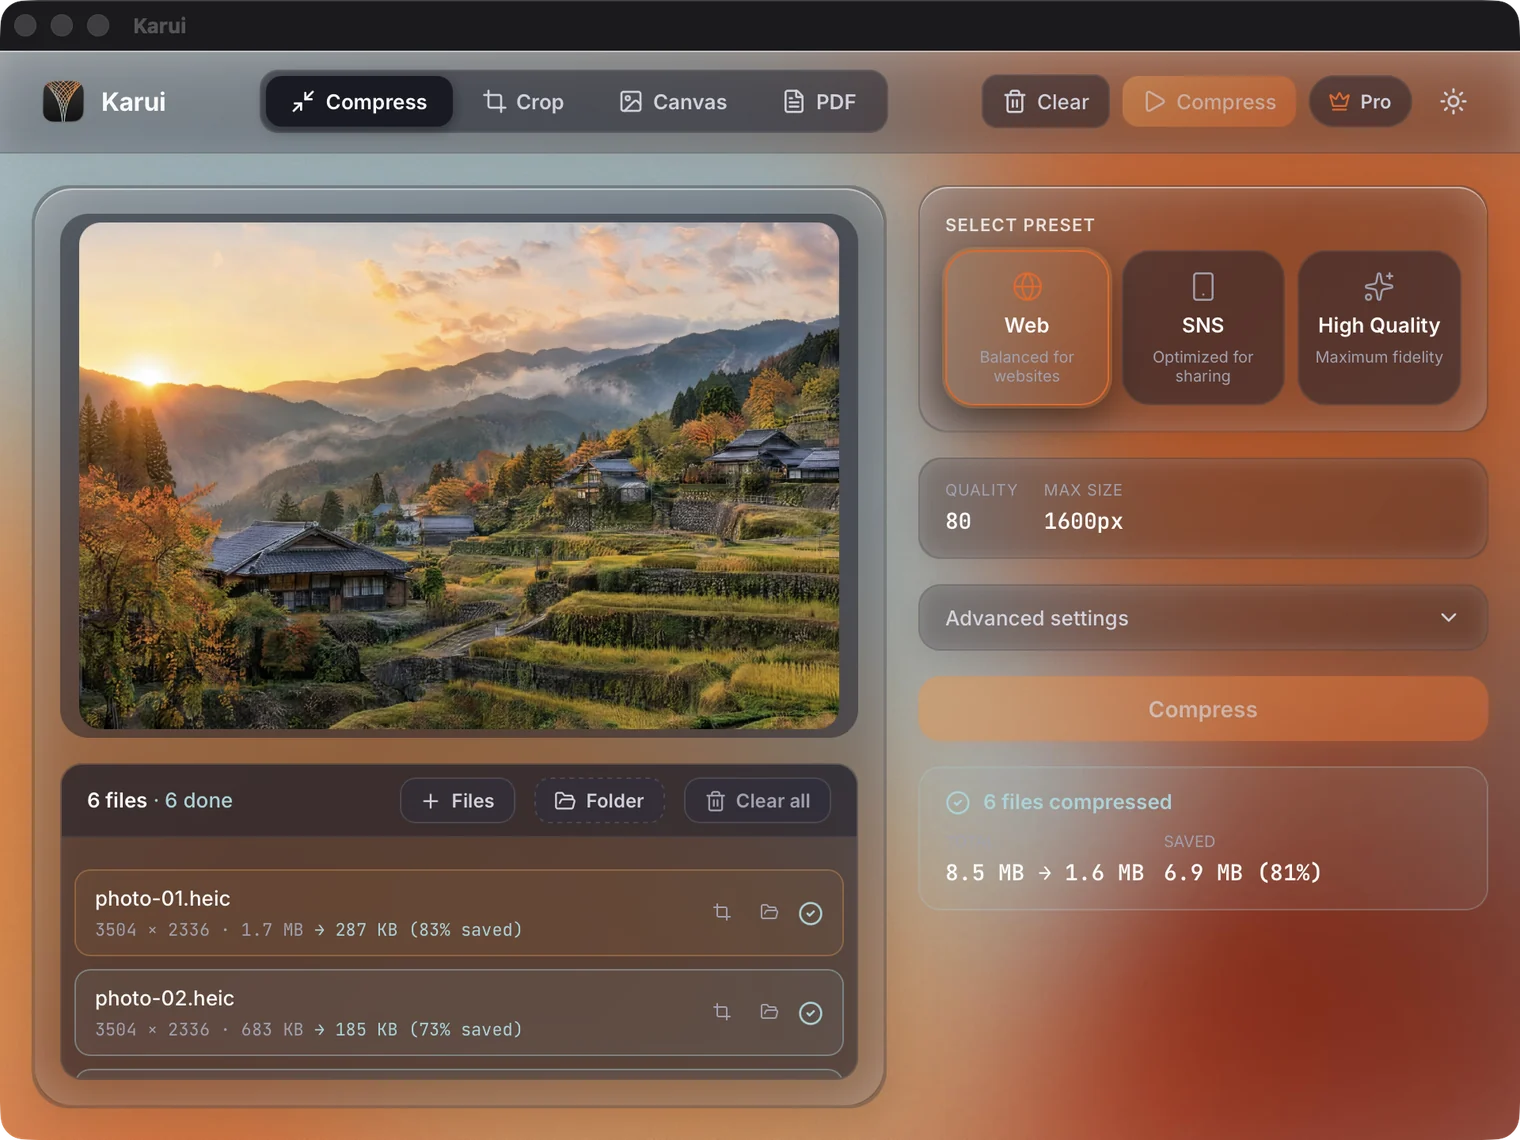
Step 2. Drop your HEIC files in
Files from the desktop or a whole folder of photos both work. The macOS version also accepts drops on the Dock icon. A preview appears, so you can confirm on the spot that these are the photos you expected.
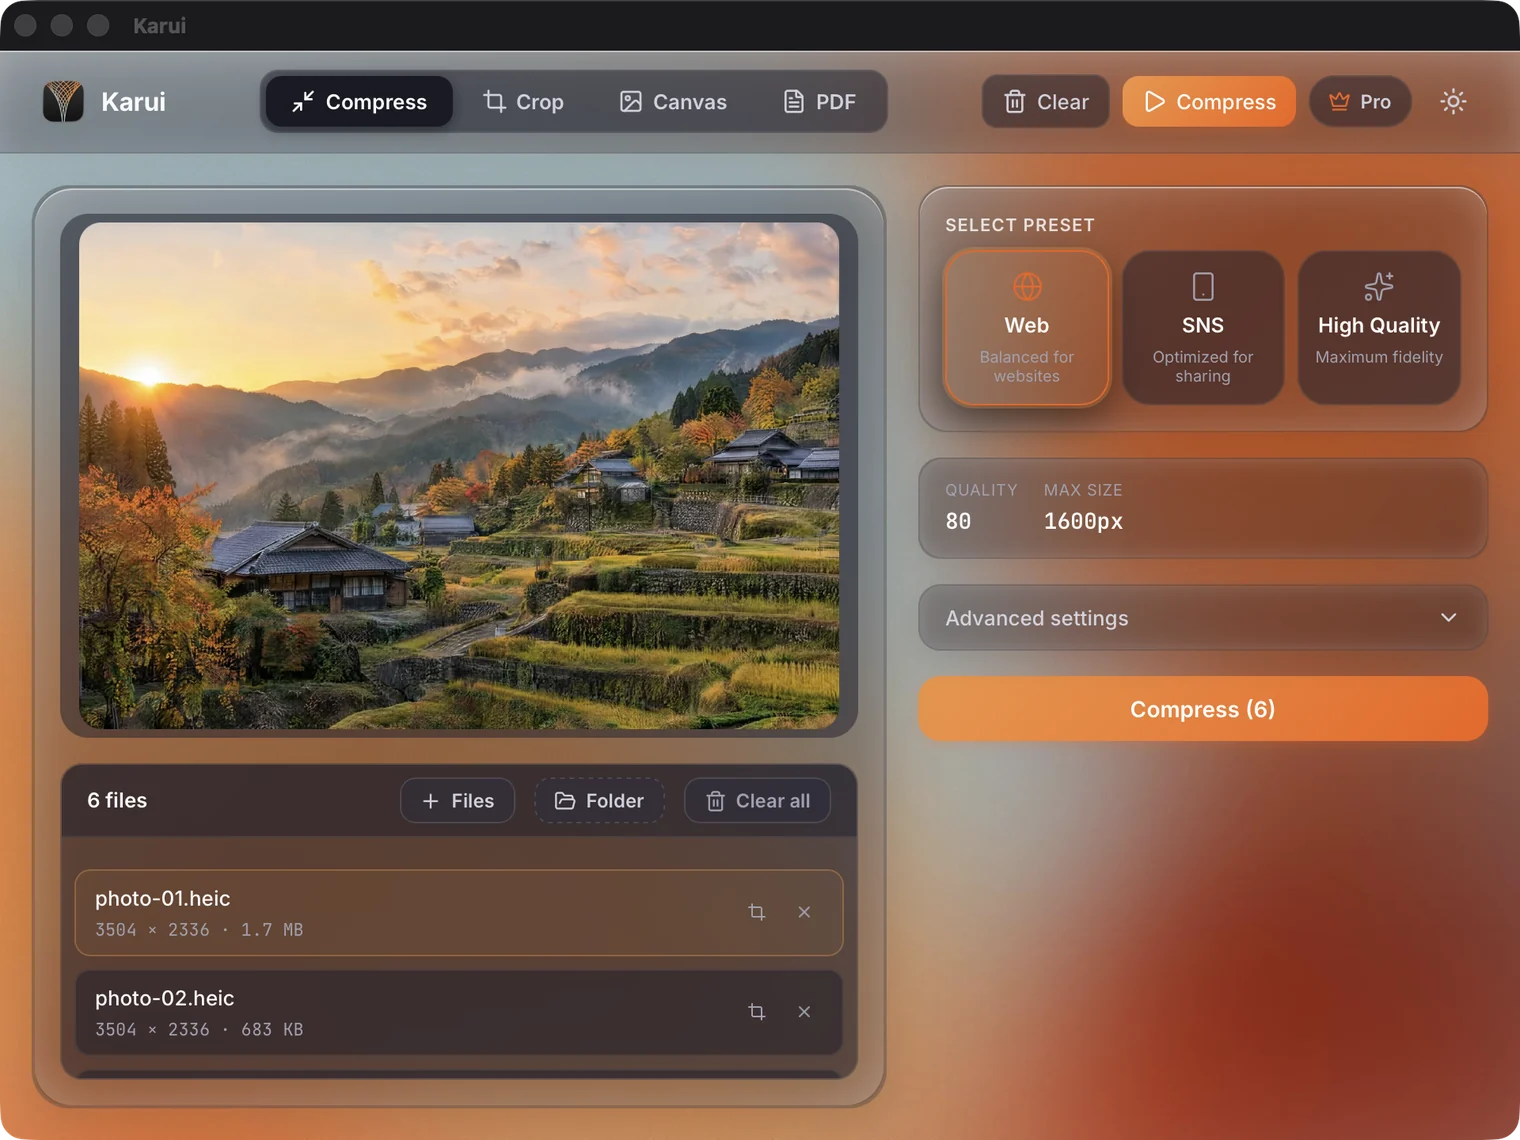
Step 3. Set the output format and long edge
As a starting point, use JPEG output, 1920px on the long edge, and quality 75. For email attachments or blogs, 1600px is plenty. For social media thumbnails, you can go down to 1280px. Lowering the resolution does not change how a photo looks as long as the display size is no larger than that.
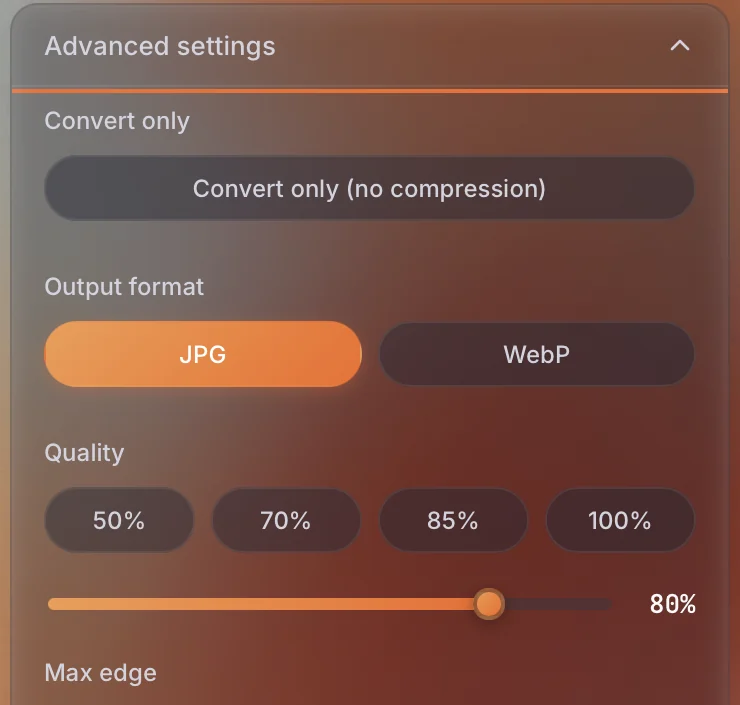
Step 4. Press Compress and check the results
When processing finishes, you see the original size, the converted size, and the percentage saved side by side. The original HEIC files are not overwritten, so if you don't like the output, you can change the settings and run it again.
You can try all of the steps above free for 20 files a day (no card required)
Try Karui FreeFile size: conversion only vs. conversion plus compression
Exporting from the Photos app keeps the resolution. iPhone photos are several thousand pixels on a side, so files tend to get bigger the moment they become JPEG. That is because HEIC takes up roughly half the size of JPEG. With conversion alone, the total can exceed the original 230MB.
Karui resizes to 1920px on the long edge as it converts. Fewer pixels mean a smaller file. Here is how the same 50 photos compare.
| Item | Conversion only (Photos app) | Conversion + compression (Karui) |
|---|---|---|
| Resolution | Original | 1920px long edge |
| Per photo | Often at or above the original HEIC size | Average 296KB |
| Total for 50 photos | Can exceed 230MB | 14.8MB |
| Steps | Export, then compress in another tool | One drop |
Total size of 50 HEIC photos
In our own measurement, 50 HEIC photos shot on an iPhone 15 Pro (230MB total), converted to JPEG at 1920px on the long edge, came to 14.8MB. That is a 93.6% reduction, averaging 296KB per photo. The originals averaged 4.6MB each, so the result is roughly 1/15 the size. Numbers depend on photo content, so try 10 photos first and check the reduction.
Convert and compress your Mac's HEIC photos in one pass
No credit card, free for 20 files a day. If you like it, $29 once (perpetual license + 1 year of updates).
Windows 10+ / macOS 12.0+ / 100% local processingThings to check before converting
Keep the original HEIC files
Converting to JPEG is a one-way trip. Converting a JPEG back to HEIC does not restore the discarded information. Convert copies and keep the originals in a separate folder. Before deleting originals in iCloud as well, check their sync status.
When iCloud optimization is on
With "Optimize Mac Storage" turned on in the Photos app, the original HEIC files may be in iCloud, with only lightweight previews on your Mac. Exporting as is can give you low-resolution output, so select the photos and use "Download Originals" first. Turning the setting off takes up storage, so the safe approach is to download only the photos you need, then convert.
Filename collisions
If IMG_0001.HEIC and IMG_0001.JPG are in the same folder, their names collide after conversion. When a file already exists, Karui adds a sequential number to the output and does not overwrite the original. If you want the names to stay aligned, send the output to a separate folder.
FAQ
What is the easiest way to batch-convert HEIC on a Mac?
Selecting multiple photos in the Photos app and exporting them takes only built-in tools. But the resolution stays the same and compression is a separate step. To convert and compress in one pass, drop your HEIC files into Karui all at once. It's free for 20 files a day.
Does converting HEIC to JPEG reduce image quality?
Re-encoding during format conversion causes a very small loss. HEIC is already a lossy format, so the original information does not come back. But when converting at 1920px on the long edge and quality 75, the difference is not something you can see on screen. Shortening the long edge reduces the pixel count, so compared at 100% zoom the two are clearly different.
Can I convert with iCloud's "Optimize Mac Storage" turned on?
Before converting, select the photos in the Photos app and use "Download Originals" on them. With optimization on, the original HEIC files may be in the cloud, with only lightweight previews on your Mac. Turning the setting off takes up storage, so the practical approach is to download only the photos you need, then convert.
How much does file size differ between conversion only and conversion plus compression?
With conversion only, the resolution stays the same, so the JPEGs tend to be larger than the HEIC files. Converting in Karui while resizing to 1920px on the long edge took 50 HEIC files totaling 230MB down to 14.8MB (296KB average per photo, 93.6% smaller). This is our own measurement, and results vary with photo content.
How much can I convert for free?
Karui is free for 20 files a day. No credit card is required, and you can also try Pro features for 7 days after installing. For bulk jobs of more than 20 photos or ongoing use, a one-time $29 license makes it unlimited.